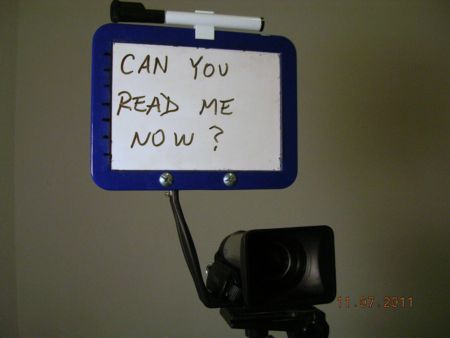
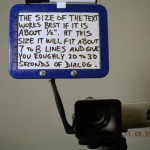
In my video adventures I do a lot of projects that call for an on screen testimonial where I will have to deliver a set of lines right to the camera. I could try to memorize the lines but I am usually on a time limit so to speed things up I needed some help. I looked at various teleprompter ideas but right now money is tight, so I went with what works cheaply on T.V. show productions… Cue Cards!
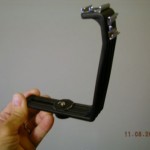
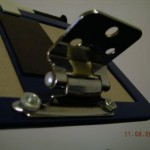
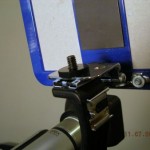
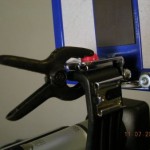
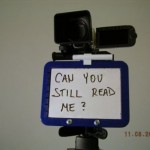
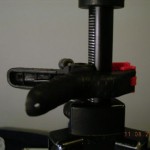
I use a small size 7” x 6” dry erase board that attaches to my camcorder by means of an “L” shape accessory arm. The dry erase board cost about $3.00 and the accessory arm that attaches to the camcorder was $12.00. I mounted a spring loaded cabinet door hinge on the dry erase board and by using a clamp (or a shoe mount screw sold in photography stores) I can secure it to the accessory arm. It was around $2.00 (and the shoe mount screw is around $2.00 also). This is ultra portable, can be used with any camcorder on or off the tripod and doesn’t require any power. Plus it cost under $20.00.
You can also secure the dry erase board cue card to the tripod with clamps just under the lens. I have at times mounted the cue card on a separate stand and placed it next to the camera lens for good results. However you secure the cue card on whatever stand or holder you have, just try to get it as close to the camera lens as possible for the best results.
I experimented with the placement, size of the text and the distance from the camcorder/cue card until I found a good formula. The best spot I liked was above the lens on the accessory arm and text size is around 1/2”. The distance from the camcorder/cue card to where I stand is about 8 feet. I zoom in to 3x -4x and frame the composition for a medium close up. At this distance it’s easy for me to read the lines and it comes across as though I’m looking right into the lens, or close anyway. You may want to adjust these measurements slightly for your own vision.
This setup allows me to concentrate on delivering the lines well without having to memorize them. I can compose my script then write it on the dry erase board. One nice feature is “on the fly” editing. If I want to change a word or whole part it’s easy to erase and re-write. With this size cue card it holds about 7-8 lines or about 20-30 seconds of script. For my short “how- to” episodes that are about 1-2 minutes long, I record them in 3 parts and edit together using nice scene transitions.
Audio is another consideration. The camcorder microphone will still pick up okay at 8 feet or so but speak as loud and clear as you comfortably can so the microphone will record your voice clearly. Try to do this project in a quiet area if possible so there isn’t much noise conflicting with your dialog. If your camcorder has the ability to plug in an external microphone use one and put it as close to you as possible. The audio will come out much better.
The whole trick to using cue cards is the distance from the camera/cue card to where you are standing to read it. The farther away you are, the better the effect. If you are too close to the camera lens your eyes can be seen moving back and forth as you are reading and your eyes are looking too far from the lens. From about 8 feet away, the line of sight narrows and the illusion is that you are looking right into the lens. One big tip is to never look away from the cue card into the camera lens. When you are reading and even after you finish, keep looking at the cue card until the recording is stopped. If you suddenly shift your eyes to the lens it is very noticeable.
Give it a try. Have Fun.
